 Recap Studio
Install and allow permissions
Recap Studio runs on macOS 14 Sonoma or later, on Apple Silicon and Intel Macs. It’s free to download, and you don’t need an account.
Install
- Download the latest version from the download page.
- Open the downloaded
.dmgfile and drag Recap Studio into your Applications folder. - Open Recap Studio from Applications, Launchpad or Spotlight.
Allow permissions
The first time you open Recap Studio, the Permissions window lists what the app can use. Only Screen Recording is required. The others are optional, and you can allow them later.
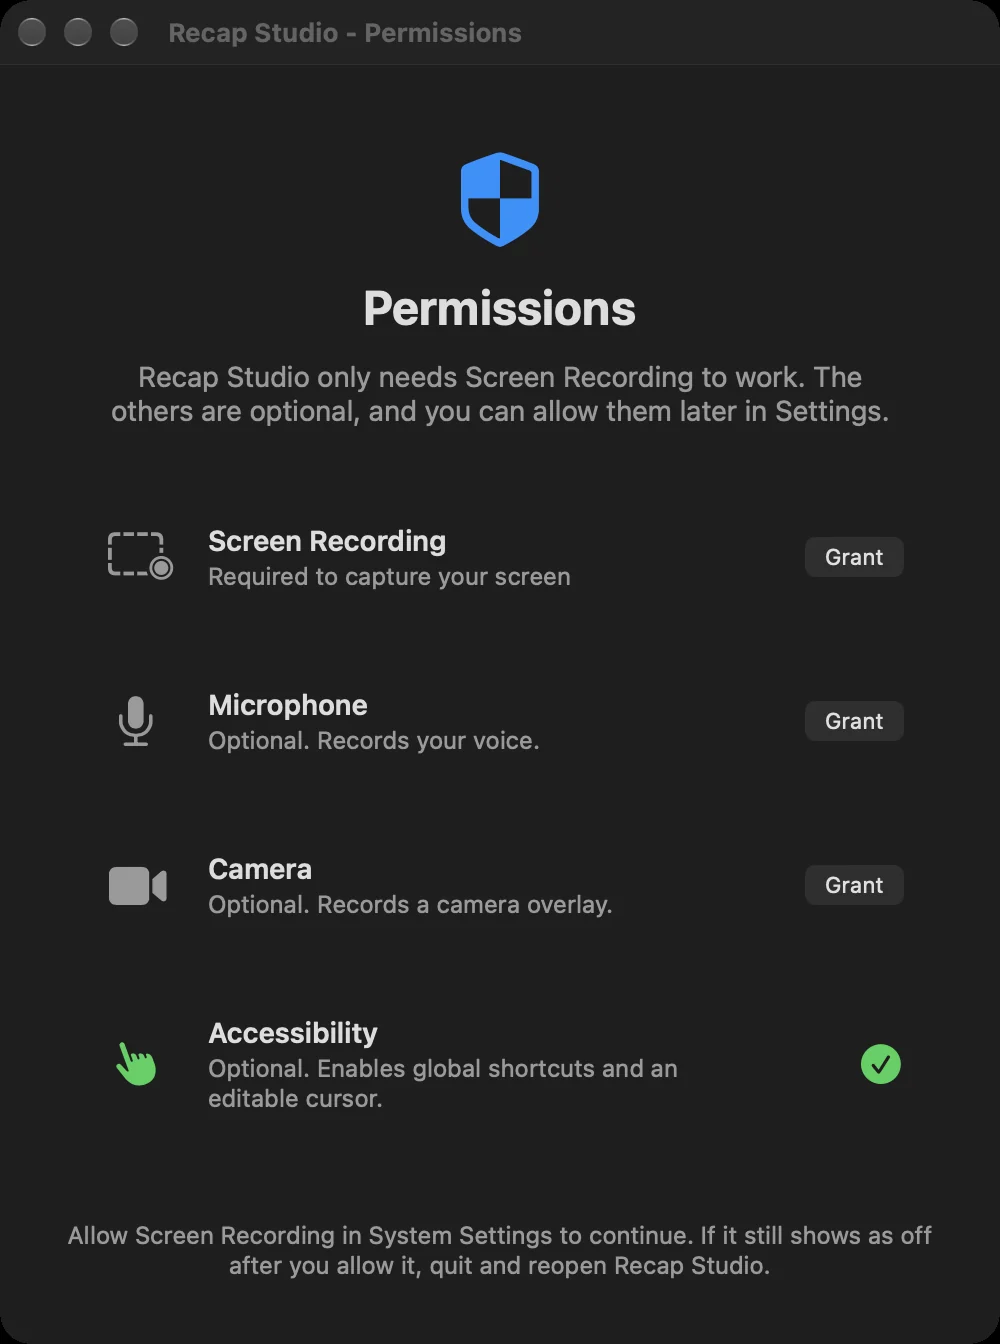
| Permission | Needed for |
|---|---|
| Screen Recording | Required. Capturing your screen, windows and selected areas. |
| Microphone | Optional. Recording your voice. |
| Camera | Optional. Recording a camera bubble. |
| Accessibility | Optional. Global shortcuts, on-screen shortcut labels and the editable cursor. Without it, the real cursor is recorded into the video and can’t be restyled. |
Click Grant next to a permission. For Screen Recording, macOS opens System Settings › Privacy & Security › Screen Recording: switch on Recap Studio there, then come back. A green checkmark replaces the button once a permission is allowed, and Continue appears when Screen Recording is on.
If Screen Recording still shows as off after you've allowed it, quit Recap Studio and open it again. macOS only applies this permission after a restart of the app.
Change permissions later
Open Settings › Permissions to see what’s allowed. Anything that isn’t has an Open Settings button that takes you straight to the right page in System Settings. See Troubleshooting if something isn’t working.
Next, record your screen, or activate your Pro license if you’ve bought one.