 Recap Studio
Record your screen
Everything starts from the control bar, the floating bar at the bottom of your screen. It never appears in your recordings, and you can drag it anywhere.
Choose what to record
Pick one of the three sources in the control bar:
- Display: records a whole screen. Each display shows its name, size and frame rate, with a Start recording button.
- Window: hover over the window you want, then click Start recording. Press Esc to cancel.
- Area: click and drag to draw the part of the screen you want. Fine-tune the size and position in the W, H, X and Y fields (use ↑ and ↓, or hold Shift to move by 10), then click Record.
Click the selected source again to close it.
Add your camera, microphone and system audio
The control bar has a menu for each:
- Camera: choose a camera to add a camera bubble to your recording. It’s off until you pick one. Max Resolution sets 720p, 1080p or 4K. Don’t record camera turns it off again.
- Microphone: on by default, with a level meter so you can check it hears you. Choose another microphone, or Don’t record microphone.
- System audio: records your Mac’s sound, for example a video or app sounds. Choose Record system audio or Don’t record system audio.
If a menu says Allow Camera Access… or Allow Microphone Access…, click it to allow that permission first.
While you record
A 3-second countdown appears before recording starts. Press Esc to cancel it. You can change or turn it off in Recording settings.
The recording controls at the bottom of the recorded screen show a red REC indicator and a timer. Like the control bar, they’re never part of the video. From there you can:
- Pause and resume. The indicator turns orange and reads Paused.
- Stop: the red square. The editor opens with your new recording.
- Restart: throws away the current take and starts again after the countdown.
- Delete: throws away the take and goes back to the control bar.
You can also stop from the Recap Studio menu bar icon: Stop Recording.
Start a recording from the keyboard
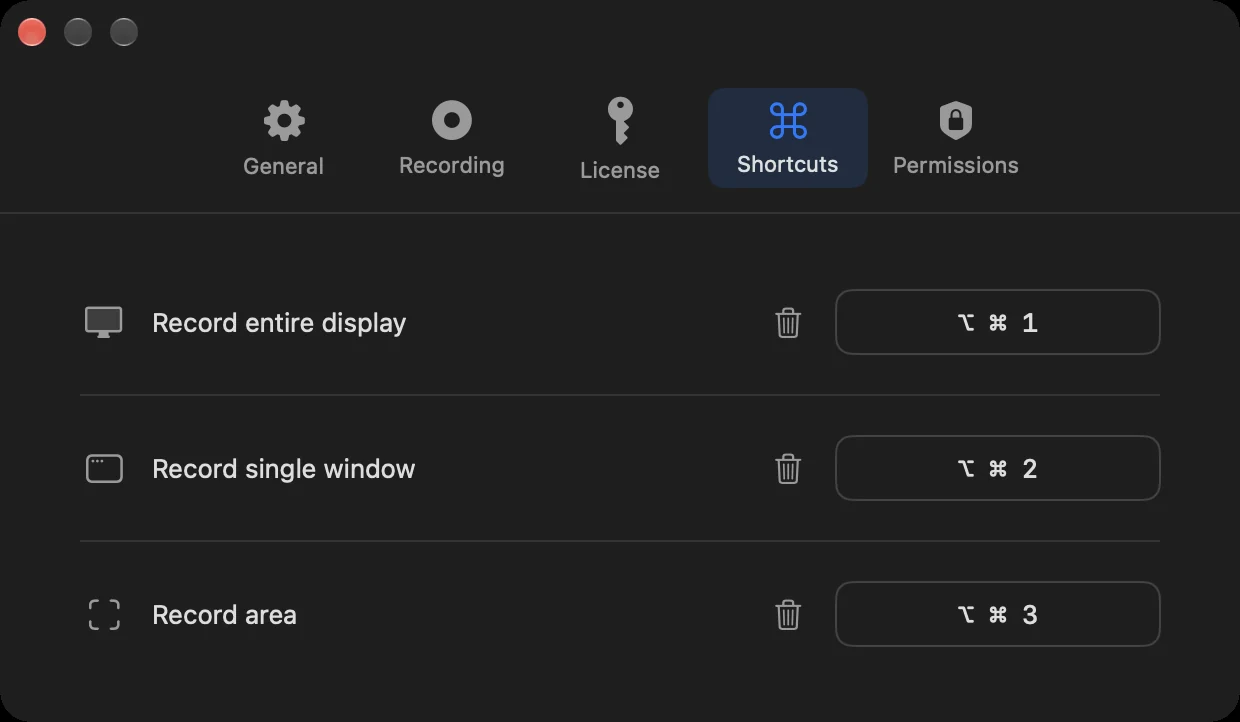
With the Accessibility permission allowed, these shortcuts work from any app:
| Action | Shortcut |
|---|---|
| Record entire display | ⌥ ⌘ 1 |
| Record single window | ⌥ ⌘ 2 |
| Record area | ⌥ ⌘ 3 |
Change or clear them in Settings › Shortcuts. Each shortcut needs at least one modifier key.
Where recordings are saved
Each recording is saved as a project in ~/Documents/Recap Studio Projects, unless you’ve chosen another folder in Recording settings. Double-click a .recapstudio project to open it in the editor, or use Open Project… from the menu bar icon.
Next: auto zoom and editing zooms.