 Recap Studio
Recording settings
Open Settings from the Recap Studio menu bar icon, then choose the Recording tab. These settings apply to your next recording.
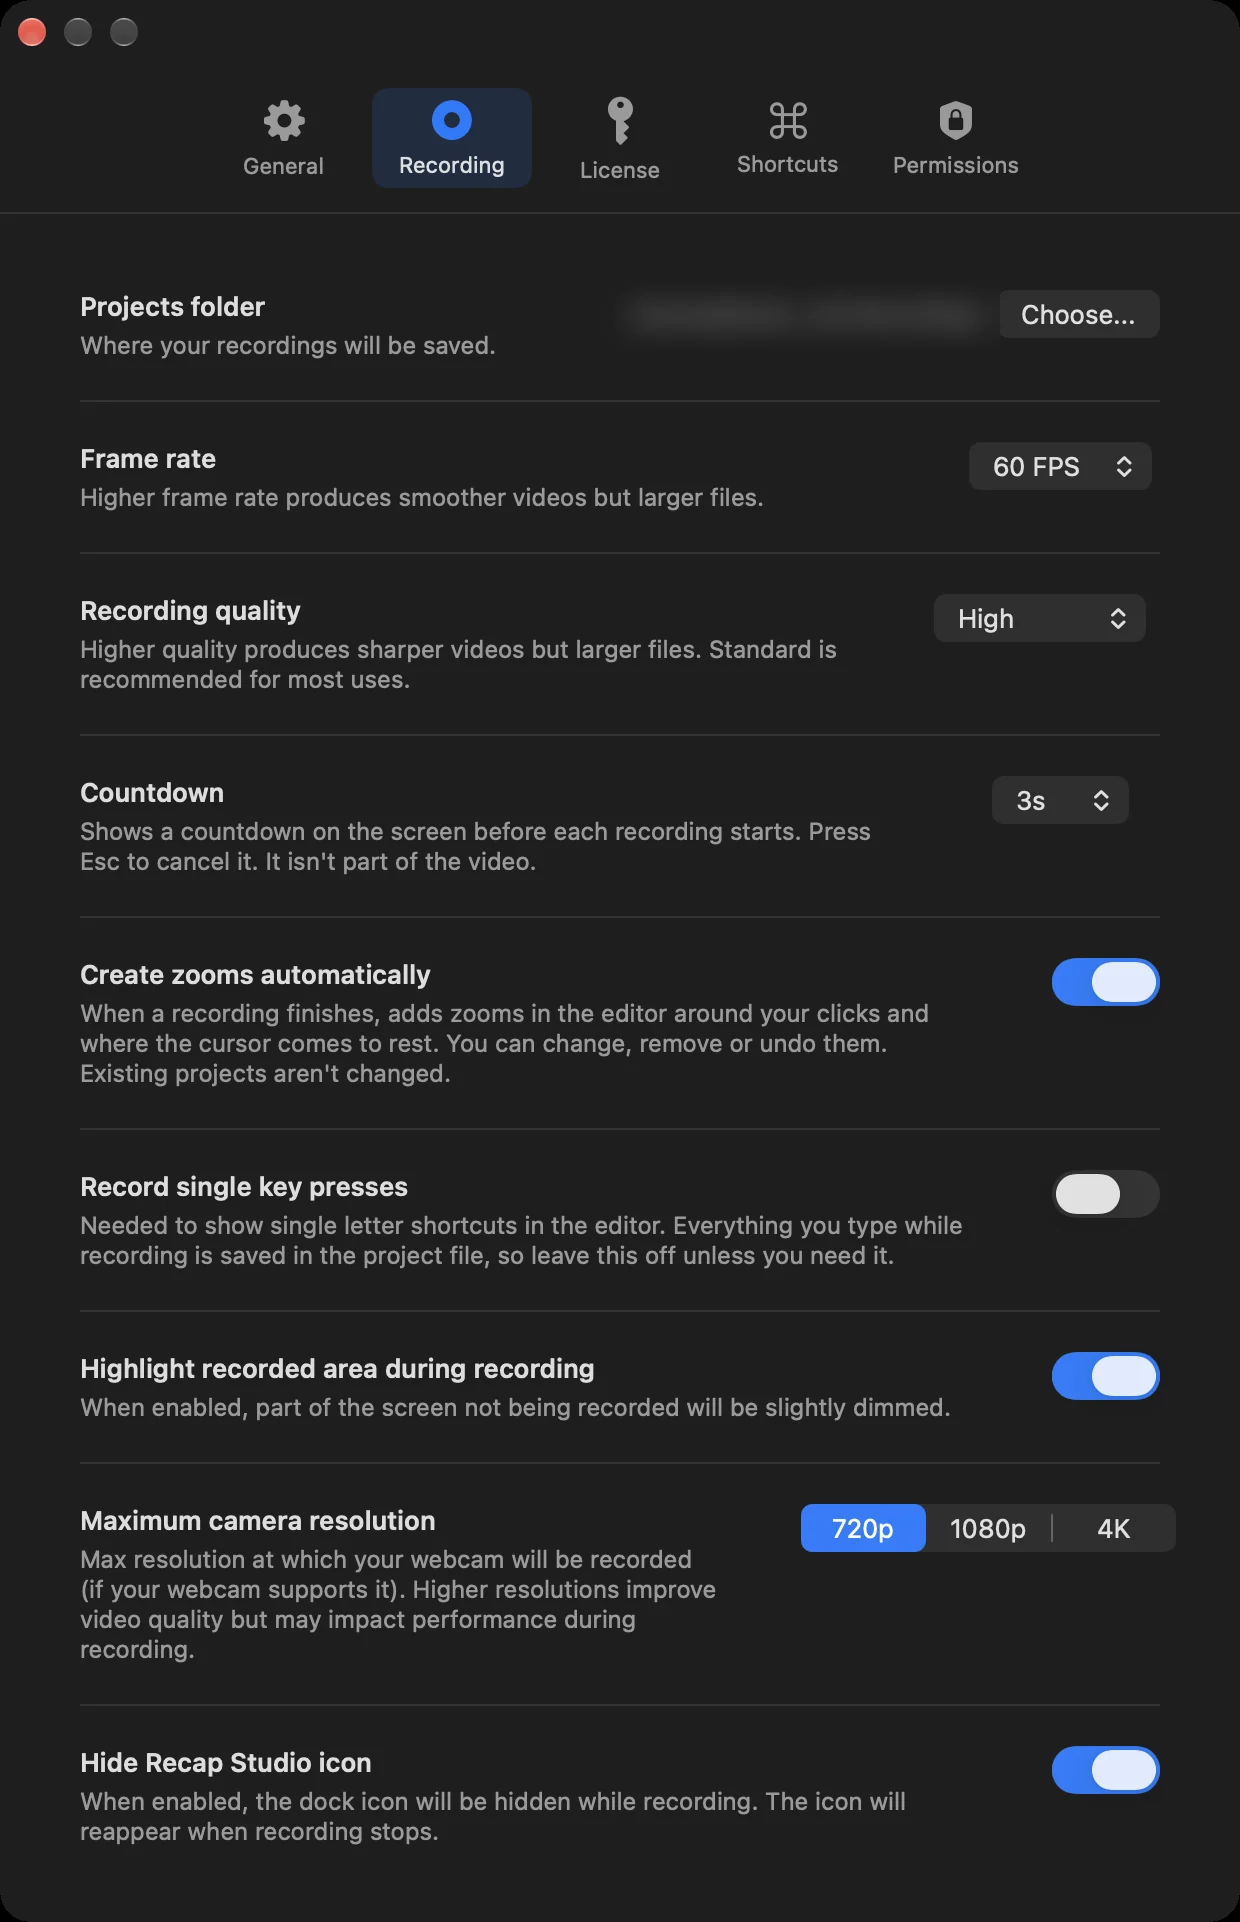
| Setting | What it does | Default |
|---|---|---|
| Projects folder | Where new recordings are saved. Click Choose… to change it. | ~/Documents/Recap Studio Projects |
| Frame rate | 30 or 60 FPS. Higher is smoother, with larger files. | 60 FPS |
| Recording quality | Standard, High or Maximum. Higher is sharper, with larger files. Standard suits most recordings. | Standard |
| Countdown | Off, 3s, 5s or 10s before each recording starts. Press Esc to cancel it. It isn’t part of the video. | 3s |
| Create zooms automatically | When a recording finishes, adds zooms around your clicks and where the cursor rests. See auto zoom. | On |
| Record single key presses | Needed to show single-letter shortcuts in the editor. Everything you type is then saved in the project, so leave it off unless you need it. | Off |
| Highlight recorded area during recording | Dims the parts of the screen you aren’t recording. | On |
| Maximum camera resolution | 720p, 1080p or 4K, if your camera supports it. Higher resolutions can slow down older Macs. | 720p |
| Hide Recap Studio icon | Hides the Dock icon while you record. It comes back when you stop. | On |
General settings
The General tab has Start Recap Studio at login and Reset preferences, which puts every setting back to its default.
Your typing stays private
By default Recap Studio only saves keyboard shortcuts (keys pressed with ⌘, ⌥, ⌃ or fn), plus keys like arrows, Tab, Esc and Return. Plain typing is never saved unless you turn on Record single key presses.